Learn how do i delete my facebook photos with an easy, step-by-step guide for removing single pics, batches, or photos where youre tagged.
FriendFilter scans your Facebook and shows exactly who's inactive — so you can clean up and boost your reach.
Hey there, Facebook marketers, coaches, and small business owners! Are you looking to tidy up your online presence? Whether you need to delete a single awkward photo, an entire album from a past venture, or bulk-remove dozens of pictures at once, Facebook gives you the tools to do it. You can manage your visual history right from your computer, iPhone, or Android device. But before you jump into a deleting spree, let's chat about why a photo cleanup is one of the smartest power moves you can make for your brand.
As a coach, marketer, or small business owner, your Facebook profile is your digital handshake. It’s often the first place potential clients look to get a feel for who you are. Every photo, tag, and album tells a piece of your story, and a profile cluttered with old, unprofessional, or just plain irrelevant images can muddy your brand message.

Think about it like this: you wouldn’t wear a decade-old, ill-fitting outfit to a major networking event, would you? Your photo gallery deserves the same level of professional attention. When someone lands on your page, a curated, polished visual presence instantly builds trust and reinforces your expertise.
Every image on your profile should have a purpose. Take a hard look and ask yourself: Do these photos reflect the expert I am today, or the person I was five years ago? A strategic photo audit is about more than just tidying up. It helps you:
This is all about taking back control of your narrative. It's the same logic behind why you might periodically clean up your friend list to improve organic reach. Curating your photos turns your personal profile into a powerful, high-performing marketing asset.
Real-World Example: Imagine a business coach who shifts from general consulting to working exclusively with high-ticket tech founders. They'd want to remove old photos from casual, low-budget workshops. That simple act sharpens their new, premium positioning and builds immediate confidence with their target audience.
Beyond branding, there's another compelling reason for a photo cleanup: digital security. Regularly reviewing and deleting old photos is a fundamental part of understanding digital privacy and safety. By minimizing your digital footprint, you protect your personal information from potential vulnerabilities and ensure your online presence is as secure as it is professional.
Let's start with the most common task: getting rid of one specific photo. Maybe it’s a blurry shot from a company event, a picture with a former employee, or something that just doesn't fit your current brand vibe. Whatever the reason, deleting a single photo is a quick fix you can handle in less than a minute, whether you're at your desk or on the go.
The good news is that the process is almost identical no matter what device you're using. It all comes down to finding that small menu—usually shown as three little dots—that holds all the actions you can take on a photo.
To make it even easier, here's a quick cheat sheet for finding that "Delete" button.
As you can see, once you know where to look, it's the same simple sequence of actions everywhere. Now, let’s walk through the specifics for each platform.
When you’re working on your computer, the larger screen makes finding and managing photos a breeze. This is my go-to method when I’m already in work mode and spot an image that needs a quick cleanup.
This method is fast and direct, helping you keep your profile looking sharp. Think of it as a quick digital touch-up—it's just as important for your social presence as cleaning up your inactive friends list to boost engagement.
Doing this on your phone is just as straightforward. Whether you're on an iPhone or an Android, the steps are nearly identical, which is perfect for managing your page's image when you're not at your desk.
Picture this: you're at a conference and realize a photo on your timeline doesn't quite match your current brand messaging. You can pull out your phone and remove it in seconds.
Keep in mind that deleting a photo also erases all its associated likes, comments, and shares. If an image has a lot of social proof you'd rather not lose, consider hiding it from your timeline instead. You can find that option in the same three-dot menu.
By getting comfortable with this simple task, you can ensure your brand's visual identity stays consistent and professional. These small, regular cleanups are a key part of increasing your organic reach. Of course, sometimes one photo isn't enough, which is why our next section covers how to tackle deleting Facebook albums in bulk.
If you’re planning a major profile overhaul, the thought of clicking through hundreds of photos one by one is enough to make you give up before you even start. Deleting a single photo is fine for a quick touch-up, but for a real digital transformation, you need a smarter approach. This is where bulk deletion becomes your best friend.
Think about it from a business perspective. Let's say you're a coach who has pivoted from general business advice to an exclusive, high-ticket mastermind for tech founders. You'll want to scrub your profile of anything related to your old venture—photos from past workshops, casual team lunches, you name it—to create a cohesive, premium brand image. Doing this efficiently is crucial.
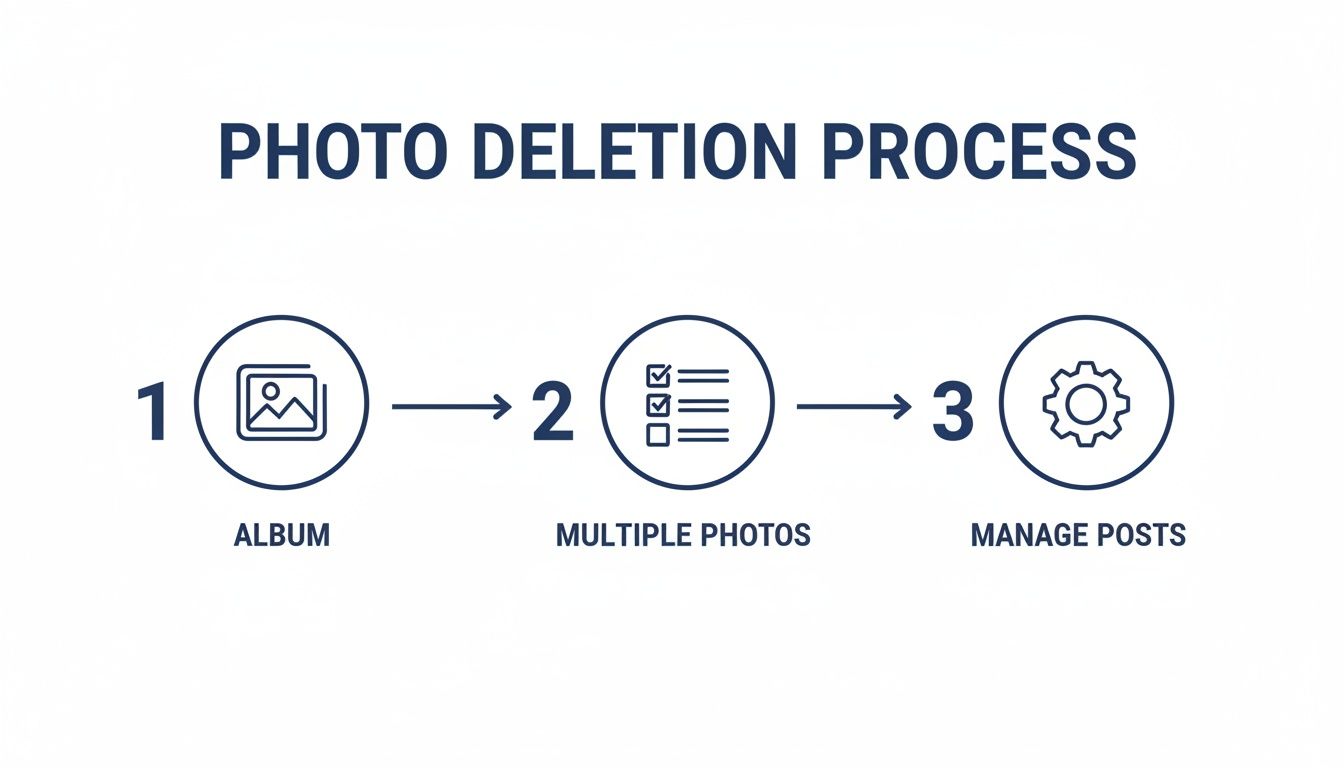
The most direct way to remove a large batch of related photos is simply to delete the entire album they're in. This is perfect for getting rid of images from a specific event, a past project, or maybe a product line you've since discontinued.
Keep in mind, you can't get rid of Facebook's default albums like 'Profile Pictures' or 'Cover Photos,' but any custom album you've created yourself is fair game. We have a complete walkthrough if you need more guidance, which you can find in our guide on how to delete Facebook albums. It’s a surprisingly quick process that can wipe out hundreds of images in just a couple of clicks.
A Quick Tip from Experience: Before you hit delete on an album, give it one last scan. Look for photos with amazing engagement or testimonials in the comments. You might want to screenshot that feedback or move a few key images to a private album for your own records.
Tackling entire albums is a great first step. But what about all those one-off photos scattered across your timeline? The ones that aren't neatly organized? For those, you'll need a more surgical tool.
Tucked away in your Facebook Activity Log is a powerful feature called Manage Posts. So many people overlook this, but it’s your secret weapon for selecting and deleting multiple timeline photos at once, even if they aren't in the same album. Think of it as a powerful search filter for your entire history.
Here’s how to find and use it:
This technique is a lifesaver for doing a deep clean. That coach pivoting their business? They could filter for all photos posted between 2018 and 2020 and clear out hundreds of outdated images in a matter of minutes, not hours.
This desire for a clean slate is a growing trend. With 7.8% of all Facebook users having deleted or deactivated their accounts, people are clearly taking bigger steps to manage their digital footprint. A study from Security.org found that after 2018, data security became a top reason for 66% of users wanting to clean up their profiles. Yet, 35.1% hesitate because they’re afraid of losing important memories, which is why smart, targeted management is so vital.
We’ve all been there. You spend countless hours cultivating a professional online presence, only to be tagged in a photo that’s… well, less than ideal. For anyone managing a brand or a coaching business, these rogue tags can instantly undermine your carefully crafted image.
It’s a common misconception, but simply untagging yourself doesn’t make the photo vanish. When you remove a tag, the picture is scrubbed from your personal timeline and the "Photos of You" section. That's a good first step, but the photo itself still lives on Facebook, visible to whoever the original poster shared it with. The only way to get it deleted for good is to ask the person who uploaded it to take it down.
Before we get into dealing with photos you don't own, let's nail down the process for the ones you do control.
As you can see, whether you’re axing an entire album or using the "Manage Posts" tool to bulk-delete individual shots, you’re in the driver's seat. Mastering these controls is fundamental to maintaining a clean, professional profile.
When an unflattering photo with your name on it surfaces, removing the tag is your immediate line of defense. It’s quick and simple.
Just follow these steps:
This action instantly cleans up your timeline. Think of it as essential digital hygiene, much like periodically cleaning your inactive friends list to ensure your message is hitting the right audience.
Playing defense is fine, but the best approach is to stop unwanted tags from ever showing up in the first place. You can do this by enabling one of Facebook’s most powerful privacy features: Timeline Review.
Once you turn on "Review posts you're tagged in," you become the gatekeeper of your own profile. Nothing someone tags you in—whether it's a post or a photo—will appear on your timeline until you give it the green light. This is a game-changer for controlling your public brand image.
Here’s how to switch it on:
If untagging a photo isn't enough and you really need it gone, your next move is to send a polite direct message to the person who posted it. Something straightforward usually works best: "Hey! Hope you're doing well. I was wondering if you'd mind taking down that photo you posted of me? It doesn't quite fit the professional image I'm building online. Thanks so much!" This approach is a great way to protect your brand while keeping your professional relationships intact and can even help you improve your Facebook reach organically by maintaining a curated feed.
Whoa, hold on a second. Before you start clicking "delete," we need to talk about creating a safety net for your digital memories. As a business owner, your Facebook profile is more than just a social account; it's a living archive of professional milestones, client interactions, and valuable content.
Deciding to clean up your Facebook photos is a smart move, but jumping in without a backup is a risk you just don't need to take.

Taking this one simple step eliminates that nagging fear of accidentally wiping out something important—maybe a powerful testimonial buried in a photo's comment section or a great shot from that industry conference two years ago.
For a lot of people, that fear is a major roadblock. In fact, studies show that a huge chunk of users—anywhere from 21.1% to 49% depending on the generation—avoid cleaning up their accounts precisely because they're attached to their photos.
When you create a secure, offline backup, you give yourself the freedom to be absolutely ruthless with your profile cleanup, completely free of regret. For any serious entrepreneur, this isn't just a friendly suggestion; it's a non-negotiable part of managing your brand's digital history.
Thankfully, Facebook has a built-in tool that makes this surprisingly simple. It’s called "Download Your Information," and it lets you create a full archive of your data or—even better for our purposes—just your photos and videos.
Here’s the game plan:
Pro Tip: When you get to the download options, make sure you set the media quality to 'High.' This ensures you're saving the best possible versions of your images, which is critical if you ever want to repurpose them for marketing materials later on.
Once you’ve made your selections and hit "Request a download," Facebook will get to work compiling your file. You'll get a notification when it’s ready. The result is a handy ZIP file with all your visual content, perfectly organized and ready for you to stash on an external hard drive or in cloud storage.
For a more detailed walkthrough, you can check out our full guide on how to download Facebook photos in bulk. With your archive safely tucked away, you can now move forward with confidence, knowing nothing valuable will be lost for good.
Even with the best plan, you're bound to have a few questions pop up. When you're managing a professional brand, it pays to know the little details. Let's walk through some of the most common questions we hear from marketers and business owners about clearing out their Facebook photos.
You have a short window, but that’s it. When you delete something, Facebook doesn't immediately wipe it from existence. Instead, it moves it to a "Trash" folder where it sits for 30 days.
During that month, you can hop in and restore the photo. But once those 30 days are up, it's gone for good. There’s no secret button to get it back.
This is exactly why I always recommend creating a backup before you start a big cleanup. It’s your digital insurance policy. A quick download gives you the freedom to be ruthless with your profile curation, knowing you won't accidentally lose a memory or an important business asset. We put together a guide on how to download your Facebook photos in bulk that makes the process painless.
They vanish. The second you hit delete, all of the engagement tied to that photo—every single like, comment, and share—is erased forever.
For anyone in marketing or coaching, this is a big deal. If a photo has amazing social proof, like a glowing client testimonial in the comments or tons of engagement from your target audience, think twice before deleting it. A good practice is to screenshot that interaction for your records before you remove the post.
No, and this is a common point of confusion. When you untag yourself, all you're doing is breaking the link between that photo and your profile. It won't show up on your timeline or in your "Photos of You" section anymore.
The key thing to remember is that the original photo is still live on the poster's profile and visible to their audience. If you want an image completely scrubbed from Facebook, you’ll have to reach out to the person who originally posted it and ask them to take it down.
My advice? Steer clear. I know it’s tempting to use a browser extension or an app that promises to speed things up, but giving an unknown third party access to your account is a massive security risk.
It almost always violates Facebook's Terms of Service and could expose your personal data. The safest and most reliable way to manage your content is by sticking with Facebook’s own tools, like the 'Manage Posts' feature. This is non-negotiable when you're managing a business page where account security has to be a top priority.
Ready to take your Facebook strategy to the next level? Cleaning up photos is a great start, but true growth comes from engaging with the right people. FriendFilter helps you identify your most active followers, clean out inactive friends who hurt your reach, and build a more powerful, engaged audience.
Start your 14-day free trial of FriendFilter today and see the difference a clean, active network can make.