Learn how to delete all photos from facebook with a fast, step-by-step guide to bulk remove images and refresh your profile.
FriendFilter scans your Facebook and shows exactly who's inactive — so you can clean up and boost your reach.
Hey there! Thinking it's time to delete all your photos from Facebook? I totally get it. Whether you're rebranding your business or just want a fresh start, cleaning up your digital presence is a powerful move. While Facebook doesn't offer a magic "delete all" button, their Manage Activity tool is your best friend for this task. It lets you clear out photos in big batches, making a full profile cleanup totally achievable.
Honestly, it's the only safe way to do it without risking your account with sketchy third-party apps.
If you're a coach, marketer, or small business owner, your Facebook profile is more than just a personal scrapbook—it's your digital storefront. Over the years, it's easy to accumulate thousands of photos. But a cluttered gallery filled with old, irrelevant pictures can quietly hurt your professional image and even your organic reach.

Here's how I see it: every outdated photo is a piece of data the Facebook algorithm looks at. If those old posts got almost no engagement, they might be telling Facebook that your content, in general, isn't that interesting. This can drag down the visibility of the awesome, high-value content you're creating today. A strategic photo cleanup is all about taking back control of your brand's narrative.
A digital refresh is a must when your brand evolves. Maybe you've completely rebranded your coaching business, and those old visuals just don't fit your new message. Or perhaps you're a marketer looking to shift your profile from personal vacation snaps to sharp, industry-focused content.
This is more than just tidying up; it’s a strategic play. Here’s why:
By curating your visual history, you're not just deleting photos; you're actively managing your brand's story and making space for new growth. A tidy profile is the foundation for a more effective Facebook marketing strategy.
Ultimately, deciding to wipe your Facebook photos gives you a clean slate. It allows your best, most relevant content to shine, which is exactly what you need to drive real engagement and attract the right clients.
Once your visual brand is on point, you can explore other powerful strategies, like figuring out how to improve Facebook reach organically. And remember, making sure your audience is engaged is just as crucial; learning how to clean your friends list on Facebook is a perfect next step to amplify all your hard work.
Jumping right into deleting photos might feel productive, but trust me, a few minutes of prep can save you from a major "oops" moment later. Think of it as a safety check before a big project—it ensures you don't accidentally throw away something precious. Before you start the great photo purge, taking these simple steps will protect your memories and give you peace of mind.
The single most important action is to download a complete archive of your Facebook data. This isn't just a "nice-to-have"; it's your only safety net. Once a photo is permanently deleted from Facebook, it's gone for good. Creating a backup means you have a personal, offline copy of every picture, post, and memory you’ve ever shared.
Requesting your data is a simple process you can do right in your Facebook settings. The cool part is you can choose to download everything or just select specific things, like only your photos and videos from a certain date range.
Once you make the request, Facebook will bundle your information into a downloadable file. This can take a few minutes or a few hours, depending on how much you've shared over the years. You'll get a notification when it's ready. I always recommend doing this on a desktop, as the file can be quite large.
For a detailed walkthrough, check out our guide on how to batch download your Facebook photos to make sure you get it right.
Taking the time to download your archive is the ultimate peace-of-mind step. It separates the act of cleaning your public profile from the act of erasing your personal history.
Once that backup is safely stored on your computer or an external hard drive, you can proceed with confidence. This digital security mindset is key to managing your online presence. For example, just as you secure your online profile, understanding how to go about removing Activation Lock from an iPhone is another vital step in a comprehensive digital safety checklist when preparing devices for a new owner.
Now that your memories are safe, it's time to decide what to do with the photos on your live profile. You don't have to go with the nuclear option for everything. Facebook gives you a less permanent choice: Archiving.
Archiving simply hides a photo from your profile. It's no longer visible to your friends or the public, but it's not deleted. You can access your archived content anytime and choose to restore it. This is perfect for photos you're unsure about or older marketing campaign visuals you might want to reference later.
To help you decide the best course of action, here’s a quick comparison of your options before you get started.
By using a combination of these actions, you can perform a really strategic cleanup. You can confidently delete all photos from Facebook that no longer serve your brand while safely archiving the ones that might have future value. This thoughtful approach ensures your profile is clean, professional, and perfectly aligned with your current goals.
If you're serious about cleaning up your Facebook photos, please forget about those sketchy browser extensions and third-party apps. The safest and most reliable method is using the tool Facebook built for this exact purpose: Manage Activity. It’s tucked away in your Activity Log and is designed to let you bulk-manage old posts and photos without compromising your account's security.
Think of it as your personal digital command center. Instead of the mind-numbing task of clicking through photos one by one, this tool lets you filter, select, and remove hundreds of images in manageable chunks. For any coach or business owner, this is a lifesaver for clearing out old promotional content and aligning your profile with a new strategy.
But before you jump in and start deleting, it's smart to have a plan. You don't want to accidentally erase a cherished memory.
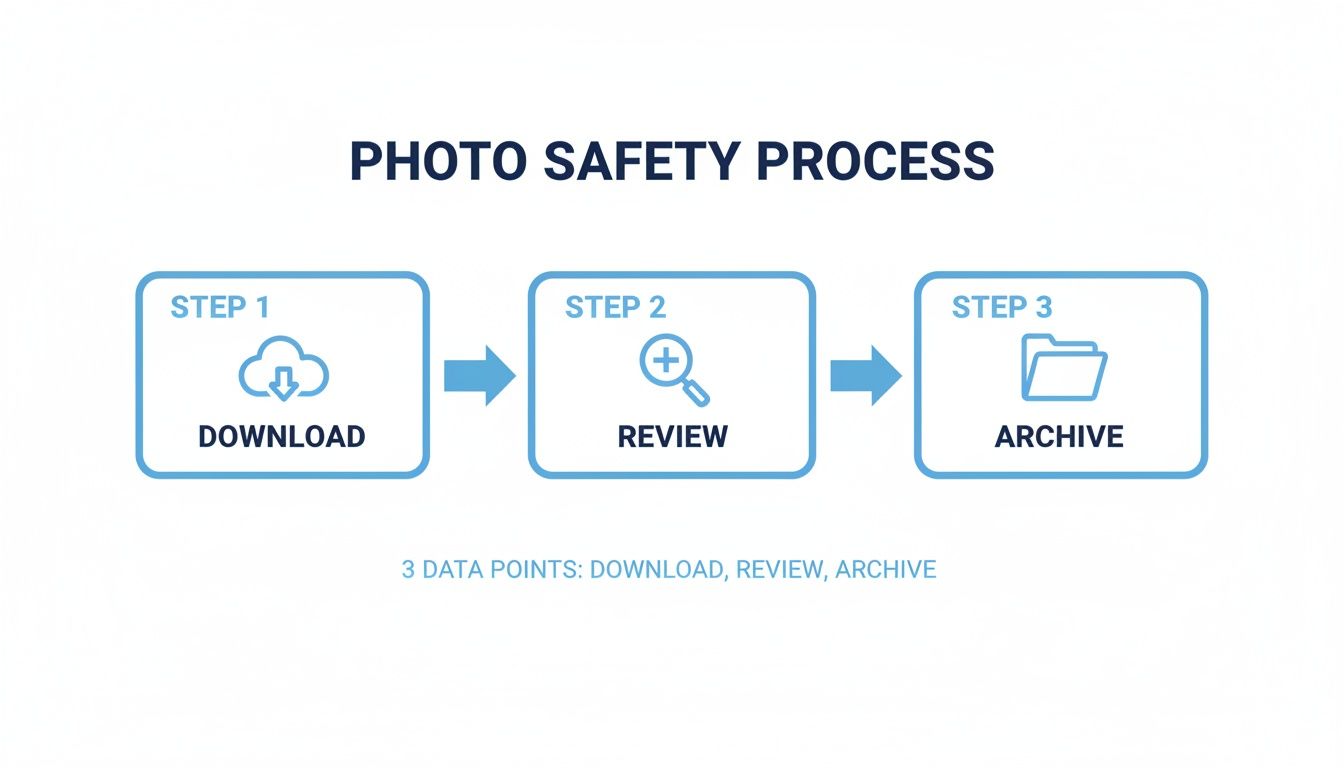
Following a simple workflow—download, review, archive—ensures you're making deliberate choices. It’s a small bit of prep that saves you from future regret.
Getting to the tool on a computer is easy, and the larger screen makes sorting through years of photos so much simpler. It's the best setup for a deep clean.
Here’s the step-by-step to get there:
Once you’re in, you'll see a grid of all your photos, each with a little checkbox. This is where the real work begins. You can now start selecting the images you want to get rid of.
Here’s where this tool is a game-changer. Instead of scrolling forever, you can use filters to find exactly what you're looking for. This is a massive timesaver, especially if you've been on Facebook for over a decade.
You have a few really helpful filtering options:
After applying a filter, just hit the "Select All" checkbox to grab every photo currently on your screen. Keep in mind, it only selects the photos that have loaded on the page. For a massive deletion, you'll need to scroll down to load more pictures and repeat the process.
My Pro Tip: Start from the beginning. Filter by your oldest year on Facebook and work your way forward. It feels more organized and helps ensure you don't miss anything in the digital clutter.
Once you’ve selected a batch of photos, two buttons will appear at the bottom: Archive and Trash. Archiving just hides them from public view, but Trash sends them to a folder where they'll be permanently deleted after 30 days. If you're sure you want them gone for good, choose Trash.
This two-step process is a great safety net, giving you a final chance to reconsider before the photos are gone forever. It’s a smart design that prevents costly mistakes.
Ultimately, using the Manage Activity tool is the most effective way to regain control over your visual history on the platform. Clearing out the old stuff not only declutters your digital life but also makes space for the content that truly represents you and your business today.
If you’ve been great about organizing photos into albums over the years, you’re in for a treat. Deleting an entire album is, by far, the fastest way to remove a huge number of related photos all at once. It's the perfect "scorched-earth" method for things like old marketing campaigns, photos from an outdated event, or that personal album that doesn't quite fit your professional brand anymore.
But wait—not all albums are created equal. Facebook has a few special, system-generated albums that you can't just delete with a single click. Knowing the difference will save you a ton of frustration.
This method is incredibly powerful, so be absolutely certain before you confirm. Once that album is gone, it’s gone for good.
Most of the albums you’ve created yourself are easy to delete. Think "Summer Conference 2019" or "New Product Launch." You just go to the album, find the menu, and hit "Delete Album." It’s a clean, simple process.
Then you have the tricky ones:
Understanding these limitations helps you set realistic expectations for your cleanup project. For a more detailed guide, you can learn how to delete Facebook albums and handle these special cases in our dedicated tutorial.
A quick tip for business owners: Deleting an old product album might feel like simple housekeeping. But remember, you're also erasing every like, comment, and share attached to those photos. If an album has significant engagement, consider archiving it instead. You'll preserve that valuable data for your records without it cluttering up your public page.
Deleting albums isn't just about speed; it's a strategic decision. For a coach who's completely rebranding, getting rid of albums tied to an old service sends a crystal-clear message to your audience. It eliminates confusion for potential clients and puts the spotlight on what you offer now.
For example, a small business can remove albums from past promotions to keep its page looking fresh and current. This is a great way to prevent customers from finding an offer that expired two years ago. That kind of digital tidiness shows you’re on top of your game.
At the end of the day, deleting albums is your most decisive tactic when your photos are grouped by theme. It creates a clean break from a past visual identity and clears the stage for your new content to shine.
So far, we’ve focused on the photos you uploaded. But what about the ones you don't control? A huge part of managing your professional brand involves taking control of the pictures other people have posted of you. All those old, unflattering, or simply off-brand photos can seriously undermine the polished presence you’re working so hard to build.

It's important to know the difference between removing a tag and asking for a photo to be taken down. When you remove a tag, you're just disconnecting your profile from the picture. The photo still exists on Facebook, but your name is no longer linked to it. Requesting a takedown is a more serious step, usually reserved for content that's inappropriate or violates Facebook’s community standards.
Going through years of tagged photos one by one is a total headache. Luckily, Facebook’s Activity Log makes this so much easier. Just like you did with your own photos, you can filter your activity to see every single post you've been tagged in and then remove those tags in large batches.
This is the fastest way to curate what appears on your timeline. It ensures that when potential clients or partners check you out, they see the brand you've carefully built, not a random collection of pictures from your past.
This also helps protect your account from unwanted associations. Think about the huge number of fake profiles out there—in Q3 2025 alone, Meta had to remove 698 million fake accounts. Many of these are created with stolen photos for spammy or malicious reasons. Untagging yourself from spammy posts helps keep your professional circle clean and secure. You can find more data on Facebook's massive fake account removals on Statista.com.
Cleaning up old tags is a great reactive step, but the best strategy is a proactive one. You can actually change your settings to review every single tag before it ever shows up on your profile. This gives you complete veto power.
Here’s how to set it up:
This one setting is a complete game-changer for brand management. It puts a gate between other people's content and your professional timeline, making sure nothing goes public without your explicit approval.
Taking this simple step is crucial for maintaining a polished presence. Instead of spending hours cleaning up a mess later, you can focus on creating great content. With a pristine timeline, your next move should be to learn how to increase engagement on your posts. And remember, a tidy friend list is just as important; find out how to clean your friends list on Facebook to make sure your message is hitting a relevant audience.
The promise of a one-click app to delete all photos from Facebook sounds amazing, right? Especially when you're looking at years of digital clutter. It sounds almost too good to be true, and honestly, it usually is.
These unauthorized browser extensions and scripts are a dangerous shortcut. Handing over your login details to a random developer is a huge security risk. You're potentially giving a third party the keys to your entire account, including private messages and personal data. That's a massive price to pay for convenience.
Beyond that, using these tools is a clear violation of Facebook's Terms of Service. This isn't just bending the rules; it's the kind of activity that can get your account flagged, suspended, or even permanently banned. Losing your business profile over a risky shortcut just isn't worth it.
Instead of looking for a magic "delete all" button, the smarter move is to focus on intentional profile management. Real growth and influence on Facebook don't come from wiping the slate clean. They come from cultivating an engaged and interested audience.
Your time is much better spent making sure the right people see your valuable content. This means cleaning out inactive friends and focusing on building a high-quality community that loves what you do.
The most powerful way to boost your reach isn’t by deleting your past but by refining your audience. A smaller, more engaged friends list will always outperform a large, silent one.
Even if you're determined to delete everything, it's not as simple as it sounds. A popular YouTube video really shows how difficult it is to permanently wipe your data. This feeling was widespread when 61.7% of users considered leaving the platform back in 2018 but couldn't bring themselves to lose all their photos. You can see the challenges of permanent deletion on YouTube for yourself.
This is where a tool like FriendFilter offers a more strategic approach. Instead of just erasing your content, it helps you audit and clean up your audience, which naturally boosts engagement without forcing you to start from scratch.
Malware is another major risk you can't ignore. Many of these "free" deletion tools come bundled with adware or even more malicious software that can infect your computer.
The promise of a quick fix just isn't worth the potential damage to your digital life and your business.
Ultimately, the only guaranteed-safe method is to take the time and manually clean up your profile using Facebook's own built-in tools. If you're dealing with a massive number of photos and need a faster way to back them up first, our guide on how to use an album downloader for Facebook can show you how to do it safely.
We’ve walked through all the core methods for clearing out your photos, but a few questions almost always pop up. Let's tackle those now so you can move forward with confidence.
For the most part, yes. When you hit that delete button, Facebook removes the photo from its active servers, and you won't be able to get it back. While it might hang around in their internal backup systems for a short period for disaster recovery, you should consider it permanently gone from your end.
This is exactly why I always stress the importance of downloading your data archive before you start deleting. It’s your only safety net.
Of course, if you just archived a picture instead of deleting it, you're in luck. That photo is just tucked away in a private folder, and you can restore it to your profile whenever you want.
This is a tricky detail that gets a lot of people. If you shared a photo directly in a Facebook Messenger conversation, deleting it from your profile or albums does absolutely nothing to the copy in that chat. The version in Messenger is a completely separate file.
If you want it gone from the chat, you have to find that specific message and use the "Unsend" feature. Just remember, you only have a very short window of time to do this after you've sent it.
I know, it’s frustrating! But Facebook intentionally avoids giving us a "select all" button for deleting photos. This is actually a safety feature, designed to prevent you from accidentally wiping out your entire visual history with one wrong click. It also protects your account if someone else ever gains unauthorized access.
Their built-in "Manage Activity" tool forces you to be more deliberate by selecting photos in batches. It's their way of making sure you're taking intentional action and protecting you from a mistake you can't undo.
This approach really highlights why sticking with Facebook’s own tools is the smartest way to delete all photos from Facebook. It might take a bit longer, but it's far safer for your account and your business.
Ready to manage your Facebook audience with the same precision? FriendFilter helps you identify and remove inactive friends, ensuring your valuable content reaches a truly engaged audience. Start your free 14-day trial today and see the difference an active community makes.